Server Administration · LESSON 3 / 7
Manage server plugins
Find a plugin and run an action supported by its version.
Before you start
- A PimpMyRust account and a server you are authorized to manage.
- A selected server; SFTP for installing files, RCON for plugin commands.
Video and chapters
On screen
Choose the server
Open Plugins, check Survival · Demo and choose Install a plugin.
Descriptive transcript and files
This video is silent. The transcript describes actions and visual results; captions repeat the on-screen instructions.
- 0:00
Install a plugin — Open the catalogue from your server workspace.
- 0:03
Check the target — “Survival · Demo” is selected. The files will be sent to this server.
- 0:07
Install a plugin — Choose Install a plugin to open the guided installation.
- 0:11
Choose the right version — Backpacks 3.17.8 comes from the uMod catalogue. Its listed file is Backpacks.cs.
- 0:16
Prepare the installation — Open the file review before sending anything.
- 0:19
Review the files — Check the server, version and .cs file before installing.
- 0:24
Install Backpacks — Install prepares the transfer for this server only.
- 0:28
Confirm the target — The plugin file will be installed; existing configuration and language files are kept.
- 0:33
Installation complete — The transfer is confirmed and the plugin is loaded on the server.
- 0:39
Check the plugin — Open the server list to check its version and state.
- 0:43
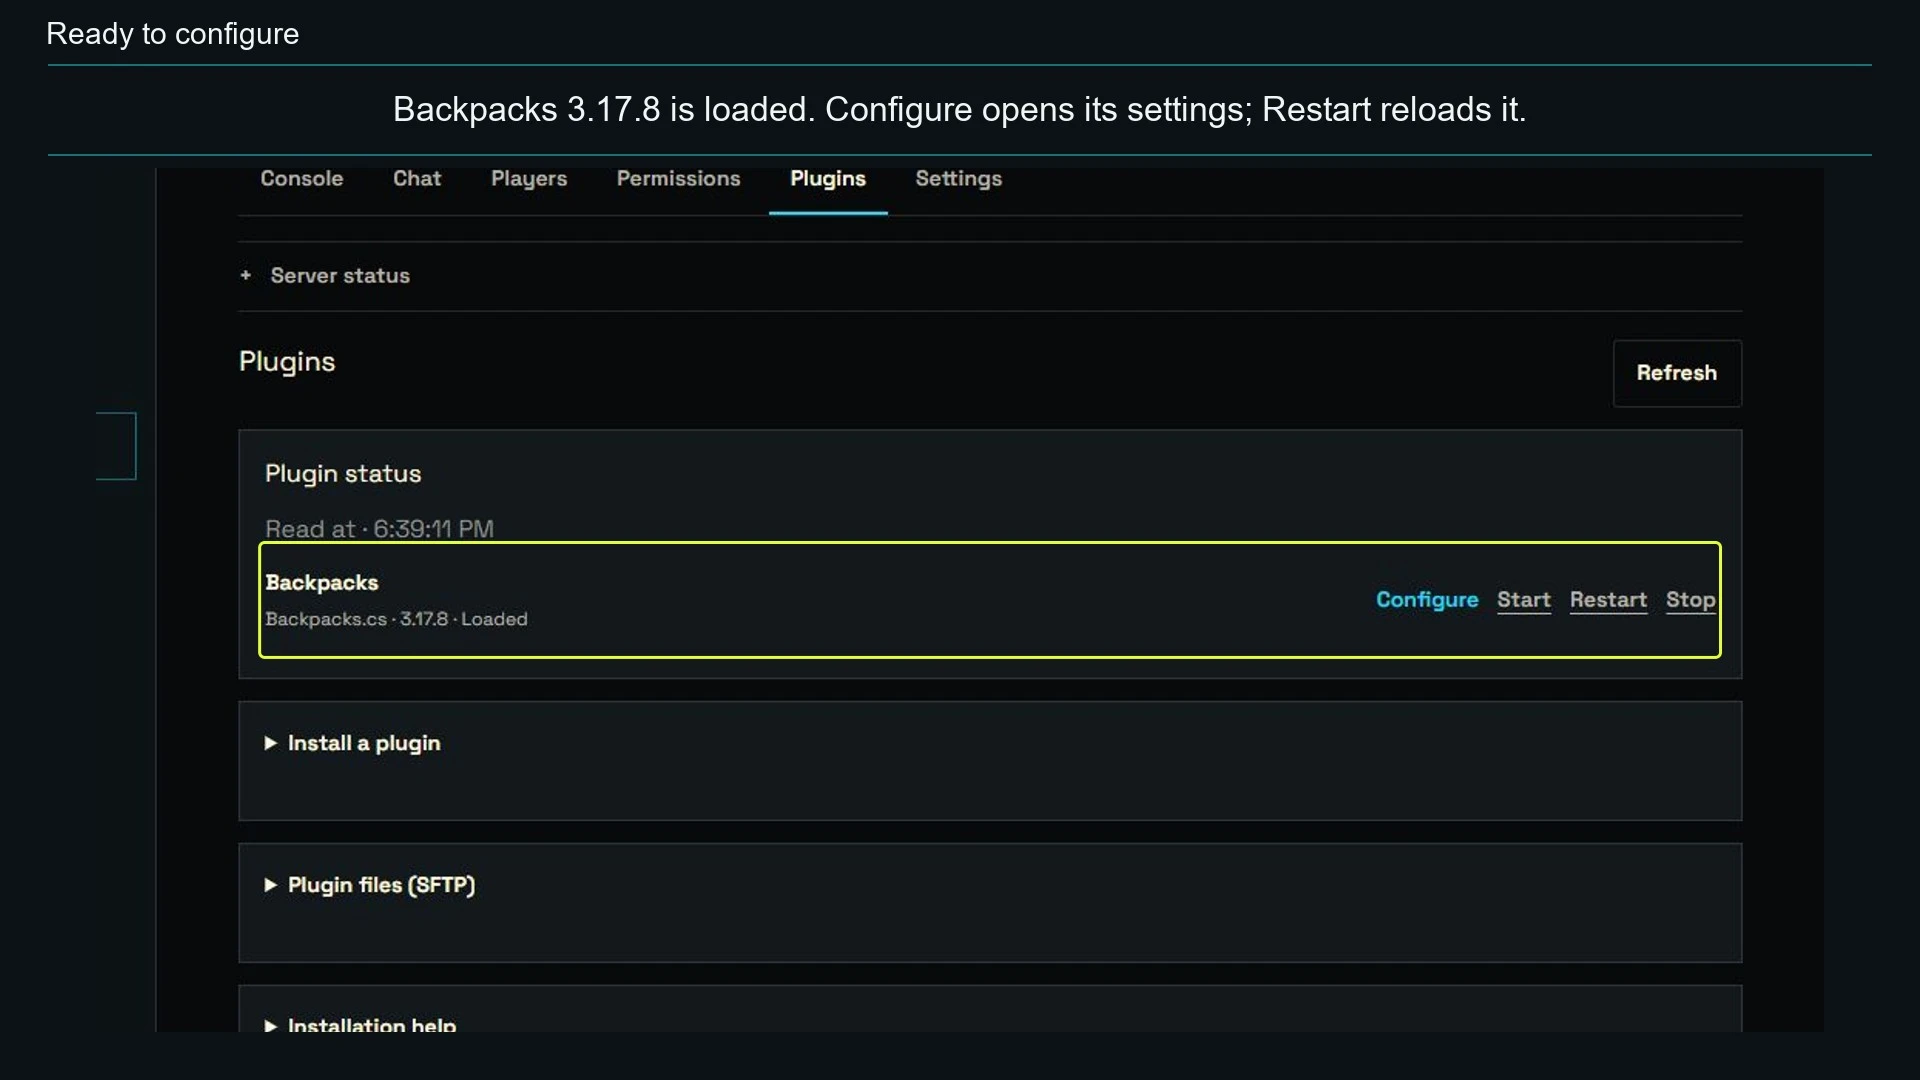
Ready to configure — Backpacks 3.17.8 is loaded. Configure opens its settings; Restart reloads it.
Follow the steps
- Open plugins for the selected server. Check the name, installed version, offered channel and framework. An available configurator does not prove the plugin is installed or grant access to its paid file.
- Choose an action available for that version. Review the target and parameters before confirming.
- Read the server response, then refresh the plugin’s state. For an installation, inspect the result for each file.
Visual reference